
 ₹https://paintingservices-neo.nipponpaint.co.in/neo-nippon-paint/chennai/pammal/neo-homes-by-nippon-paint-ram-paintings-in-pammal-chennai--3lZeut/articles/home-painting-guide-how-to-prepare-your-walls-befo--21a7734f-4da8-460c-ad3d-5a2854e39670
NEO Homes by Nippon Paint - Ram Paintings, Pammal, chennai
Paint Service Industry Store in Pammal, Chennai, Tamil Nadu
No 174/A, Opposite Arthi Scans, Pammal, chennai, tamil nadu - 600075
Book Free Home Inspection
NEO Homes by Nippon Paint - Ram Paintings Social Feeds in Pammal, chennai
Home Painting Guide: How to Prepare Your Walls Before Painting in Pammal, chennai
Ask any professional what makes a paint job last, and they will say the same thing: preparation. A beautiful colour cannot hide a poorly prepared wall, and skipping the prep is the number one reason paint peels, cracks or looks patchy. This guide to wall preparation before painting walks through the steps that give you a smooth, durable finish in your Pammal, chennai home.
The following is general homeowner guidance on preparing walls well.
Why Preparation Matters More Than the Paint
Paint can only be as good as the surface underneath it. Proper preparation lets the paint bond, hides imperfections and helps the finish last for years. Rushing or skipping these steps almost always shows later, as flaking, uneven colour or visible marks. A little patience here saves a lot of disappointment.
Step 1: Inspect the Walls
Start by looking closely at your walls. Check for cracks, holes, flaking paint, damp patches, stains and any rough or uneven areas. Note anything that needs repair, and pay special attention to signs of moisture, because damp walls need to be addressed before any painting begins.
Step 2: Clean the Surface
Walls collect dust, grease and grime, especially in kitchens and high-touch areas. Clean the surface so the new paint can bond properly. Remove loose dirt and let the wall dry fully before moving on, since painting over a dirty or damp surface undermines the whole job.
Step 3: Repair Cracks and Holes
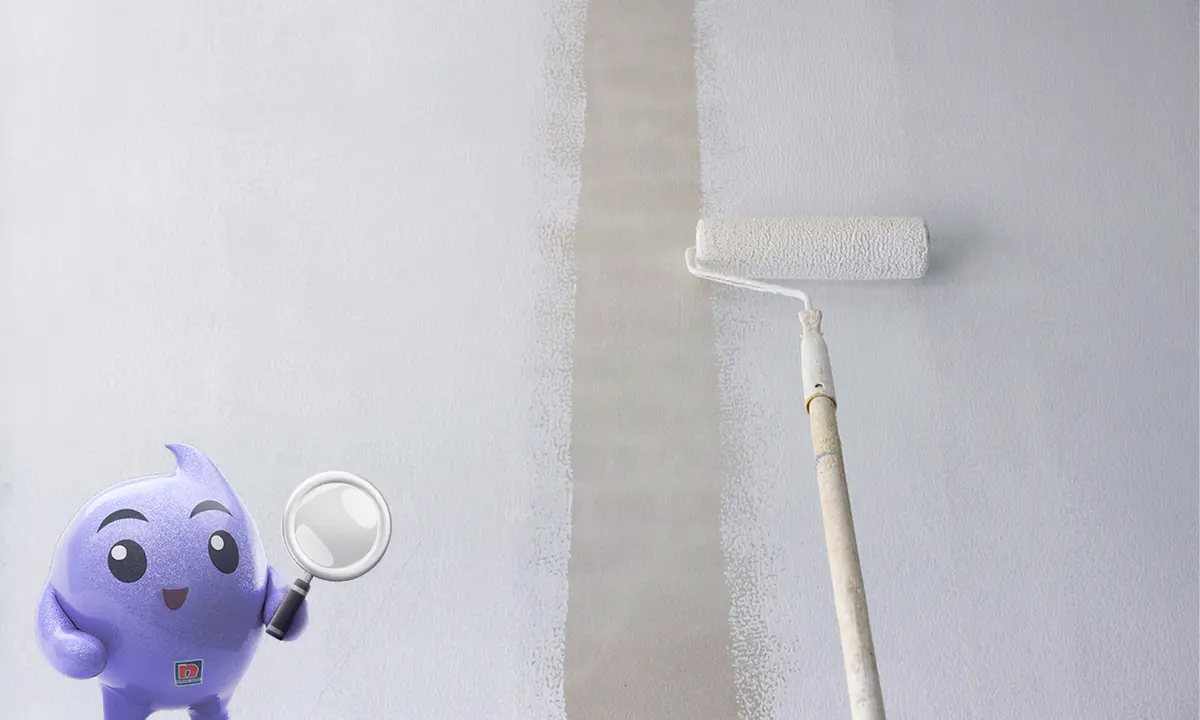
Fill cracks, holes and dents with a suitable filler, then let them dry. This step is what gives you a smooth, even surface. Small imperfections left unfilled will stand out once the paint goes on, so take the time to get this right.
Step 4: Sand the Walls
Sanding smooths the surface, levels filled areas and helps the paint grip. Traditionally this is the dusty, messy part of painting. Modern dust-free sanding, such as the Mirka sanding process NEO by Nippon Paint uses, greatly reduces the fine dust that normally spreads through your home, which is a real benefit when you are living in the space during the work.
Step 5: Prime the Surface
Priming creates an even base for your paint, improves adhesion and helps the final colour look true and consistent. Priming is especially important on new, repaired or previously problematic surfaces. It is a step many homeowners skip, and it often shows in the final result.
Step 6: Mask and Protect
Before painting, mask off everything you do not want painted: trims, switches, windows and edges. Cover furniture and floors to protect them. Thorough masking is what separates a clean, sharp finish from a messy one. Professional services take this seriously; NEO by Nippon Paint includes thorough masking and protection as part of its painting process.
Step 7: Final Checks Before Painting
Before you open the paint, do a last check. Make sure repairs are dry, the surface is smooth and clean, priming is done where needed, and everything is masked and protected. Good ventilation and the right conditions also help the paint go on and cure well.
When to Call a Professional
Preparation is doable for a small job, but it is time-consuming and easy to get wrong on a larger one. For a whole home, or where there is damp, extensive cracking or a lot of surface repair, professional help saves time and delivers a better result. NEO by Nippon Paint starts with a professional home assessment to judge the condition of your walls, then handles preparation, dust-free sanding, masking and painting, with measurement-based pricing and a one-year service warranty.
Wall Preparation Checklist
Inspect for cracks, holes, damp and flaking
Clean the surface and let it dry
Repair cracks and holes with filler
Sand for a smooth, paint-ready surface
Prime, especially new or repaired areas
Mask and protect trims, fittings and furniture
Do a final check before painting
Frequently Asked Questions
Why is wall preparation important before painting?
Preparation lets the paint bond, hides imperfections and helps the finish last. Poor preparation is the most common reason paint peels, cracks or looks patchy, no matter how good the paint is.
Do I need to sand walls before painting?
Yes, in most cases. Sanding smooths the surface, levels repairs and helps the paint grip. Dust-free sanding methods, like Mirka sanding, reduce the mess significantly.
Is priming really necessary?
Priming is highly recommended, especially on new, repaired or previously problematic walls. It improves adhesion, evens out the surface and helps the final colour look true and consistent.
How long does wall preparation take?
It depends on the condition of the walls and the size of the job. Walls needing extensive repair take longer. A professional assessment can give you a realistic timeline for your home.
Conclusion
Good wall preparation before painting is the foundation of every lasting paint job: inspect, clean, repair, sand, prime and mask before a single drop of colour goes on. Do this well and your Pammal, chennai home gets a finish that looks great and lasts.
If you would rather leave the hard work to experts, NEO by Nippon Paint handles assessment, dust-free preparation, masking and painting as a complete service. Book a home assessment to get started.